 |
|
||||||||||||||||||
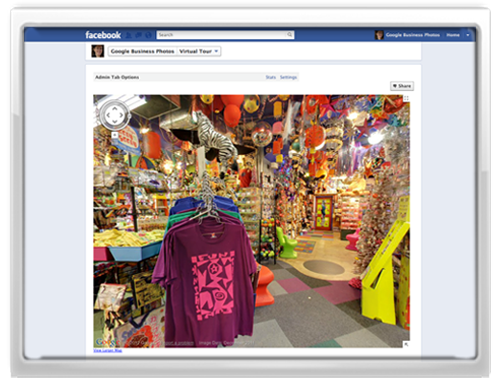
Embedding Google Business Photos in a Facebook PageHere is an example of how you can embed Google 360 Business walkthroughs into your Facebook Page. Just follow these steps… |
|
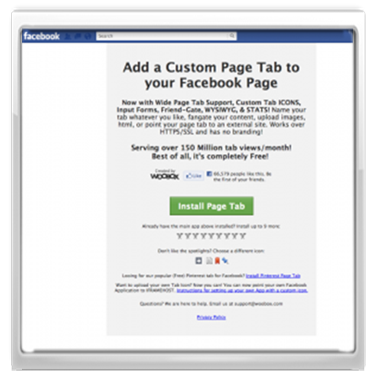
1. Log in as an Admin to your Facebook business Page, then search for the Woobox App and install it.
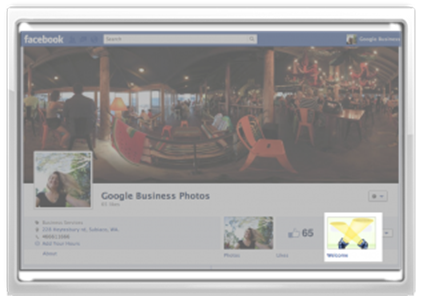
2. Go to your Facebook page and click on the new Woobox tab titled ‘Welcome’. Authorize the Tab application when prompted. See the highlighted area in the bottom right corner.
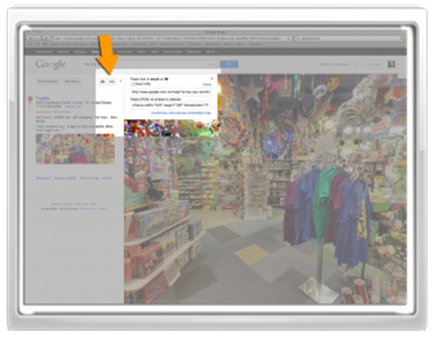
3. In a
separate browser window or tab, locate your business using Google
Maps. Click on the ‘link’ icon.
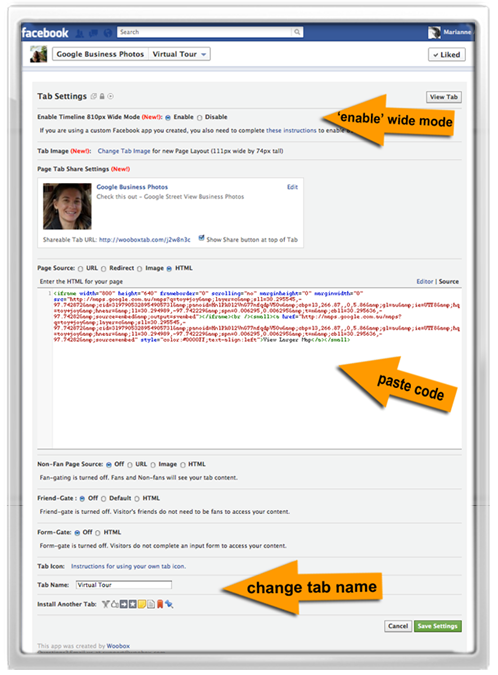
4. Paste the code from your Google Business Photos into your Woobox custom Facebook tab. Be sure to enable the ‘wide mode’ to show a big window. Change the name of the tab to whatever you want. Save your settings.
5. You’re done! Test your new tab.
6. To change the thumbnail of the tab, follow these
instructions.
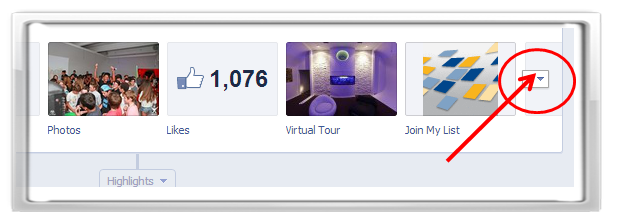
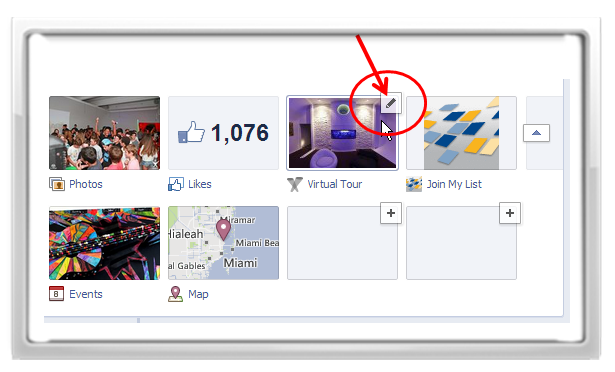
7. All page tabs are now visible. If you mouse over the thumbnail area, a small edit icon will appear.
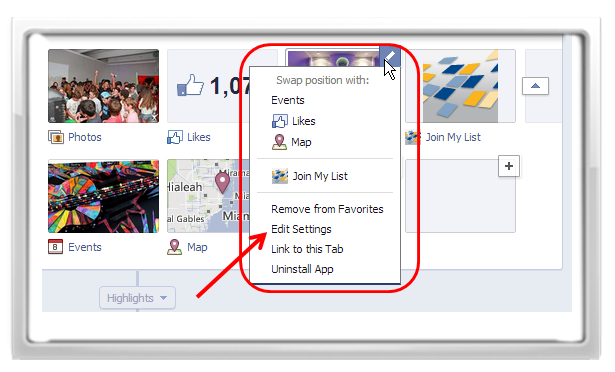
8. Once you click on the edit icon, a dropdown menu will appear and you will click on EDIT SETTINGS.
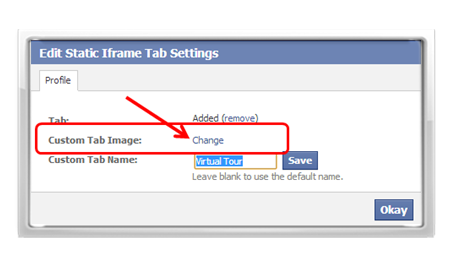
9. Click on the word CHANGE in the window that appears. NOTE: You can also change the name of the page tab here as well.
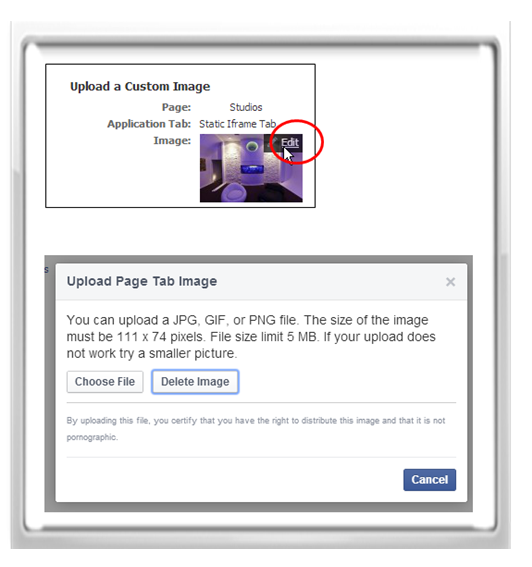
10. Now click on edit and select your favorite image to replace the current thumbnail. Remember to follow the image size requirements in the window that appears. NOTE: We recommend taking a screen shot of your favorite position in your tour.
|
|
|
|
|
|
|
|
|
|
|
|
|
|
|
|
|
|
|
|
|
|
|
|
|
|
|
|
|
|
|
|
|
|
|
|
|
|
|
|
|
|
|
|
|
|
|
|
|
|
|
|
|
|
|
|
|
|
|
|
|
|
|
|
|
|
|
|
